Description
This guide explains how to set rights within TEOS.
Requirements
- Manage for TEOS
- Administrator access to TEOS Manage
How to set rights
- Open the TEOS web interface and log in with an administrator user.

- Go to “Content Creation” and select the tab (Templates, Pages, Playlists, etc.) depending on the rights you want to set.
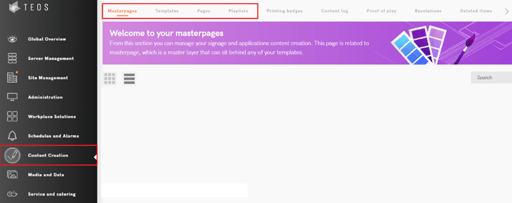
- At the root of every tab, you will find the “Rights” button on the top right side.

For each master page, template, page or folder, you will find “Rights” at the bottom of the thumbnail:
- To configure rights, you have two options: 1. Setting rights for specific content or a folder. 2. Setting rights for a folder and everything included in the folder. This option is called “Apply rights changes to subfolders and files as well”. To use this option, tick the checkbox before changing the rights.
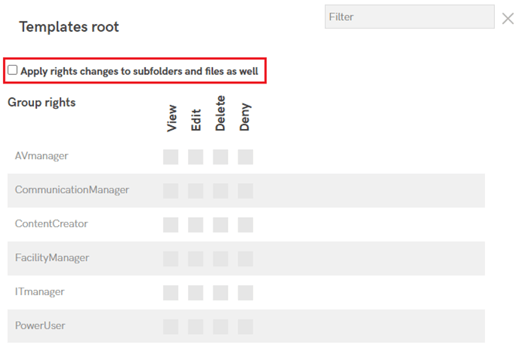
- There are different rights options that can be set for users and user groups. When rights are set for a user group, all users within that group will receive these rights.
1. View
This right allows the user to see specific content or folders.
2. Edit
This right gives the user the ability to adjust content, rename content or folders, and add content.
3. Delete
This right allows the user to delete content or folders for which they have delete permissions.
4. Deny
This right removes all access to the content or folder on which this option is set. The user cannot see, delete, or edit the content or folder. - With the rights structure, you can create folders or content that can only be accessed by a specific user or user group.
If a specific department or location has its own folder, you can grant a user or user group access to everything inside that folder.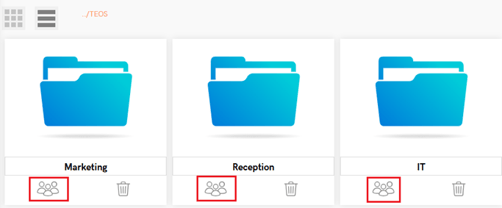
For example:
There is a folder in the root called “TEOS”. Inside this folder are three subfolders: Marketing, Reception, and IT.
You do not want IT to access “Marketing” and “Reception”, but only “IT”.
In such a case, you grant the users or user role “IT” access to the root folder “TEOS” with only “View” permissions.
For the folder “IT”, you set View, Edit, and Delete permissions for the IT users in the user role “IT”. It is important to enable the option “Apply rights changes to subfolders and files as well” before setting the permissions.
This way, the IT department will only have access to all files in the IT folder.
You have now successfully set rights within TEOS.