Description
This guide explains how to update the firmware on a ProDVX R23 model.
Requirements
- USB to Micro USB cable that supports data transfer
- Power adapter for the R23 model
- Burn Tools
- R23 firmware
Downloading the required files
To update the firmware on a ProDVX R23 model, both the Driver Assistance and RKDevTools are required:
Burning Tool
Afterwards, download the correct firmware for your device model:
APPC-10SLB/XPL R23 (RK3568)
Android 12
APPC-10SLBN/XPLN R23 (RK3568)
Android 12
APPC-7XPL R23 (RK3568)
Android 12
APPC-7XPLN R23 (RK3568)
Android 12
APPC-15XP R23 (RK3399)
Android 11
APPC-22XP R23, APPC-24X R23 (RK3399)
Android 11
APPC-32X R23 (RK3399)
Android 11
Updating the Firmware
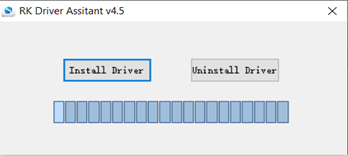
- Install the Driver Assistance tool on your workstation.
When the installation is complete, press “OK” and close the program.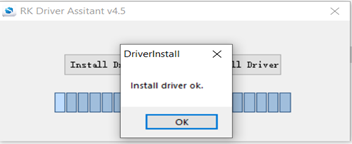
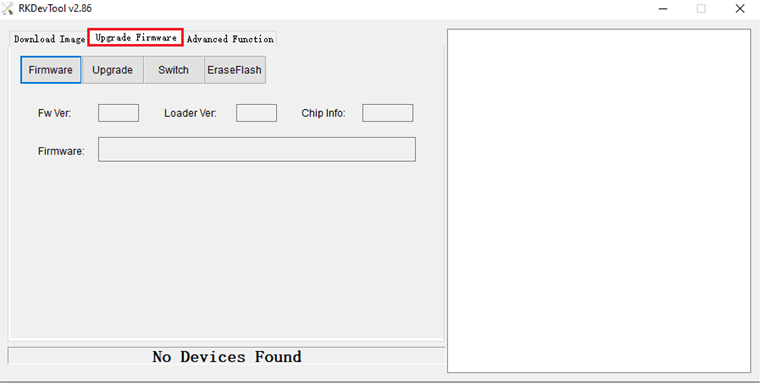
- Open RKDevTools.exe and select the second tab “Upgrade Firmware”.
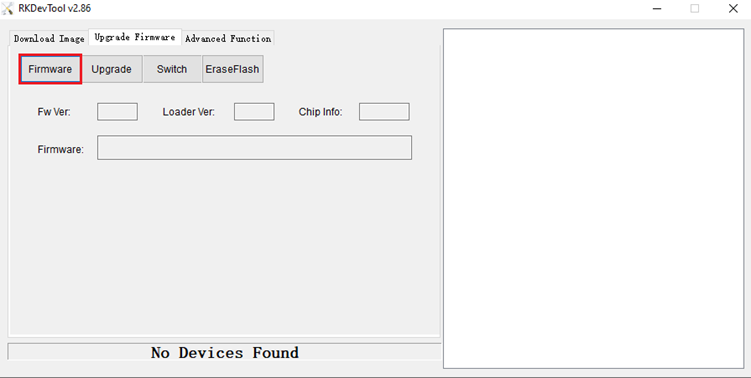
- Select the option “Firmware” to upload the correct firmware file.
- Once the firmware is uploaded, connect the device using your USB to Micro USB cable as follows:
Remove the power source from the device.
Press and hold the “+” button on the top of the device.
Connect your USB to Micro USB cable to the device.
Connect the power source to the device.
Release the “+” button once RKDevTools shows the message “One Loader Device”.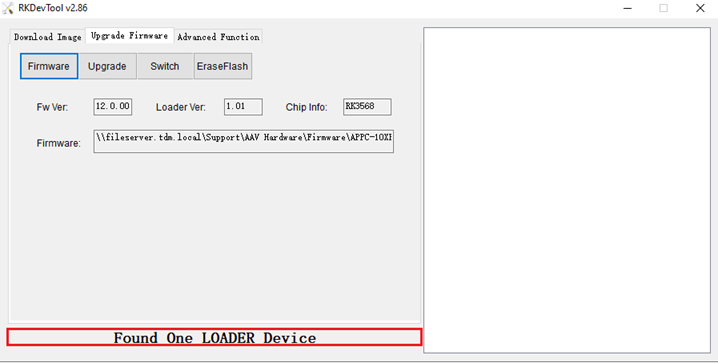
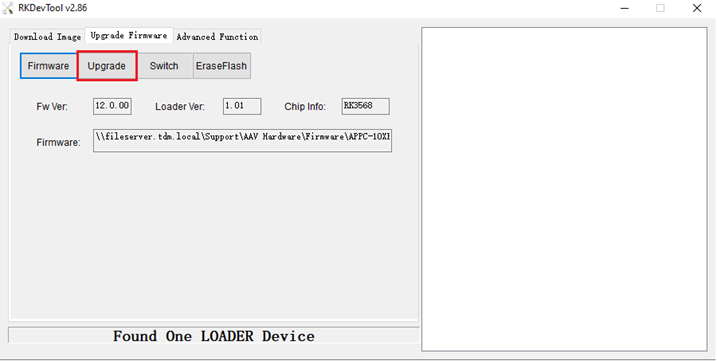
- Click the “Update” button to start the firmware update on the device.
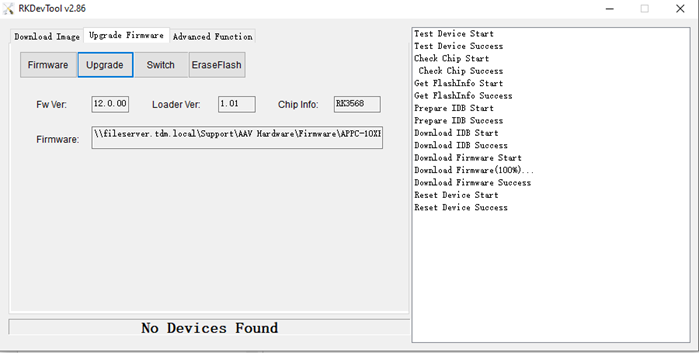
- On the right side of the screen, you can follow the update progress. Wait until the status shows “Success”, then close the program.
- After powering on the device again, the tablet will display three options to enable or disable. Follow the next steps after pressing “Start” in the first window:
Disable: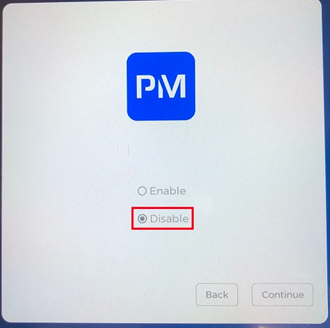
Enable: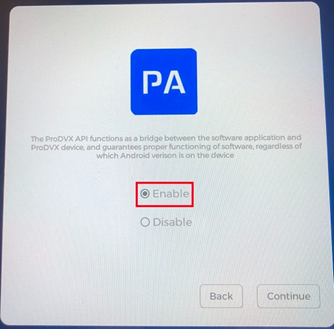
Disable: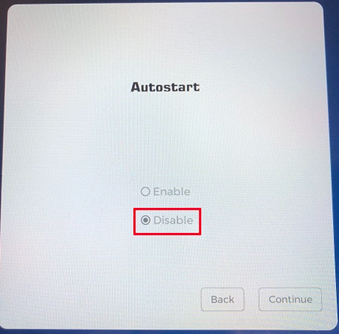
After completing these steps, reboot the device. - After the firmware is successfully installed and the device reboots, go to:
Settings > About Device
Tap “Build Number” seven times until the message “You are now a developer” appears. - Next, go to:
Settings > System > Developer
Under “Debugging”, enable the following options:
- USB Debugging
- ADB Debugging over TCP - Install the following TEOS applications:
- TEOS Cloud Control 1.4.68
- TEOS Android Player 5.372
- TEOS Control 1.58 - After installing the TEOS applications, two additional settings must be configured for them:
Settings > Apps > Special app access > Device Admin app → Enable TEOS Control.
Settings > Apps > Special app access > Display over other apps → Enable all TEOS apps.
You have now successfully configured the R23 tablet for TEOS usage.