Description
This guide explains how to set up Power BI.
For the guide on how to create content with Power BI, see How to create content with Power BI
Requirements
- Access to the TEOS web server
- Client ID, Tenant ID, and Client Secret values available (these are needed when creating the data source)
- Access to the Azure platform with permission to create applications
- Permission within the Azure platform to grant admin consent on applications
How to create an Azure application for Power BI
- Sign in to portal.azure.com with your account.
- Select “Microsoft Entra ID”.
- Select “App registrations”.

Select “New registration”.
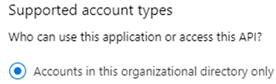
Enter a name for your application, for example: TEOS Power BI. - Set the “Supported account types” to “Accounts in this organizational directory only”.
- Configure the following redirect URL:
https://auth.teosmanage.com/connect/powerbi.aspx
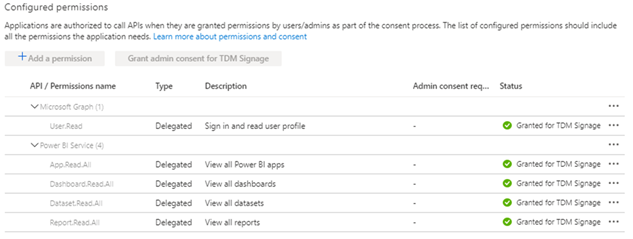
(Make sure a WEB platform is selected before adding the URL. This can be edited later by selecting the “Authentication” tab, choosing “Add a platform”, selecting the WEB platform, and adding the URL.) - Once the application has been created, go to the “API permissions” tab and configure the required permissions. Also, ensure you grant admin consent for your tenant.
- After configuring the API permissions, create a client secret under the “Certificates & Secrets” tab.

Select “New client secret” and add a description, for example: TEOS Power BI. - Once the client secret is created, copy the value as it will be encrypted once you leave the Azure application page. The Tenant ID and Client ID can be found under the “Overview” tab.
- You have now finished setting up the Azure application. The credentials you created need to be configured in TEOS Manage. They will be requested when creating a Power BI data source in TEOS.
Connect Power BI to TEOS Manage
- First, log in to the TEOS Manage environment.
- Navigate to “Server Management” and select “Settings”.
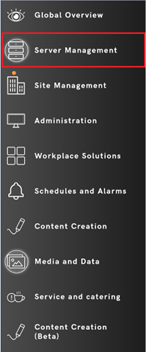

- Under “Azure AD App & Power BI Settings”, select the cogwheel to configure these settings.
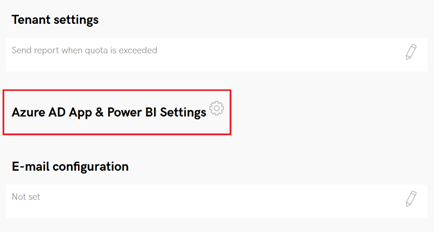
- On the right side, enter the “Client ID” and “Client Secret”.
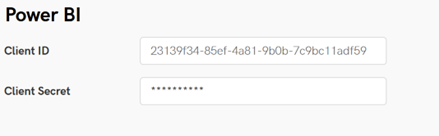
These can be found in the Azure Active Directory overview of the app registration you created earlier. - You have now linked Power BI to TEOS Manage.
How to set up Power BI
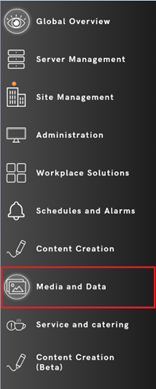
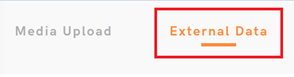
- Navigate to “Media and Data” and select “External Data”.
- Select “New Data Source”. A window will appear where you can choose a new external data source. Enter a name and select “Power BI”.
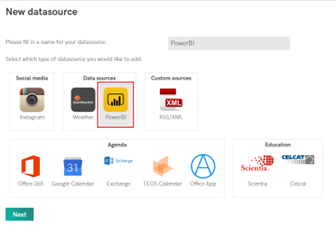
- Enter the Tenant ID, which can be found in the Azure Active Directory overview of the app registration you created earlier.
- Next, log in with the correct credentials and select “Save”.
- The Power BI setup is now complete.